| Sign In | Join Free | My infospaceinc.com |
|
| Sign In | Join Free | My infospaceinc.com |
|
| Categories | Patient Monitor Parts |
|---|---|
| Model Number: | XM1 |
| Delivery Time: | 3-5 working days |
| Material: | Plastic |
| Application: | Edan Elite V5, V6, V8 |
| Quality: | High |
| Payment: | T/T, Western Union,Paypal |
| Brand Name: | Edan |
| Color: | White |
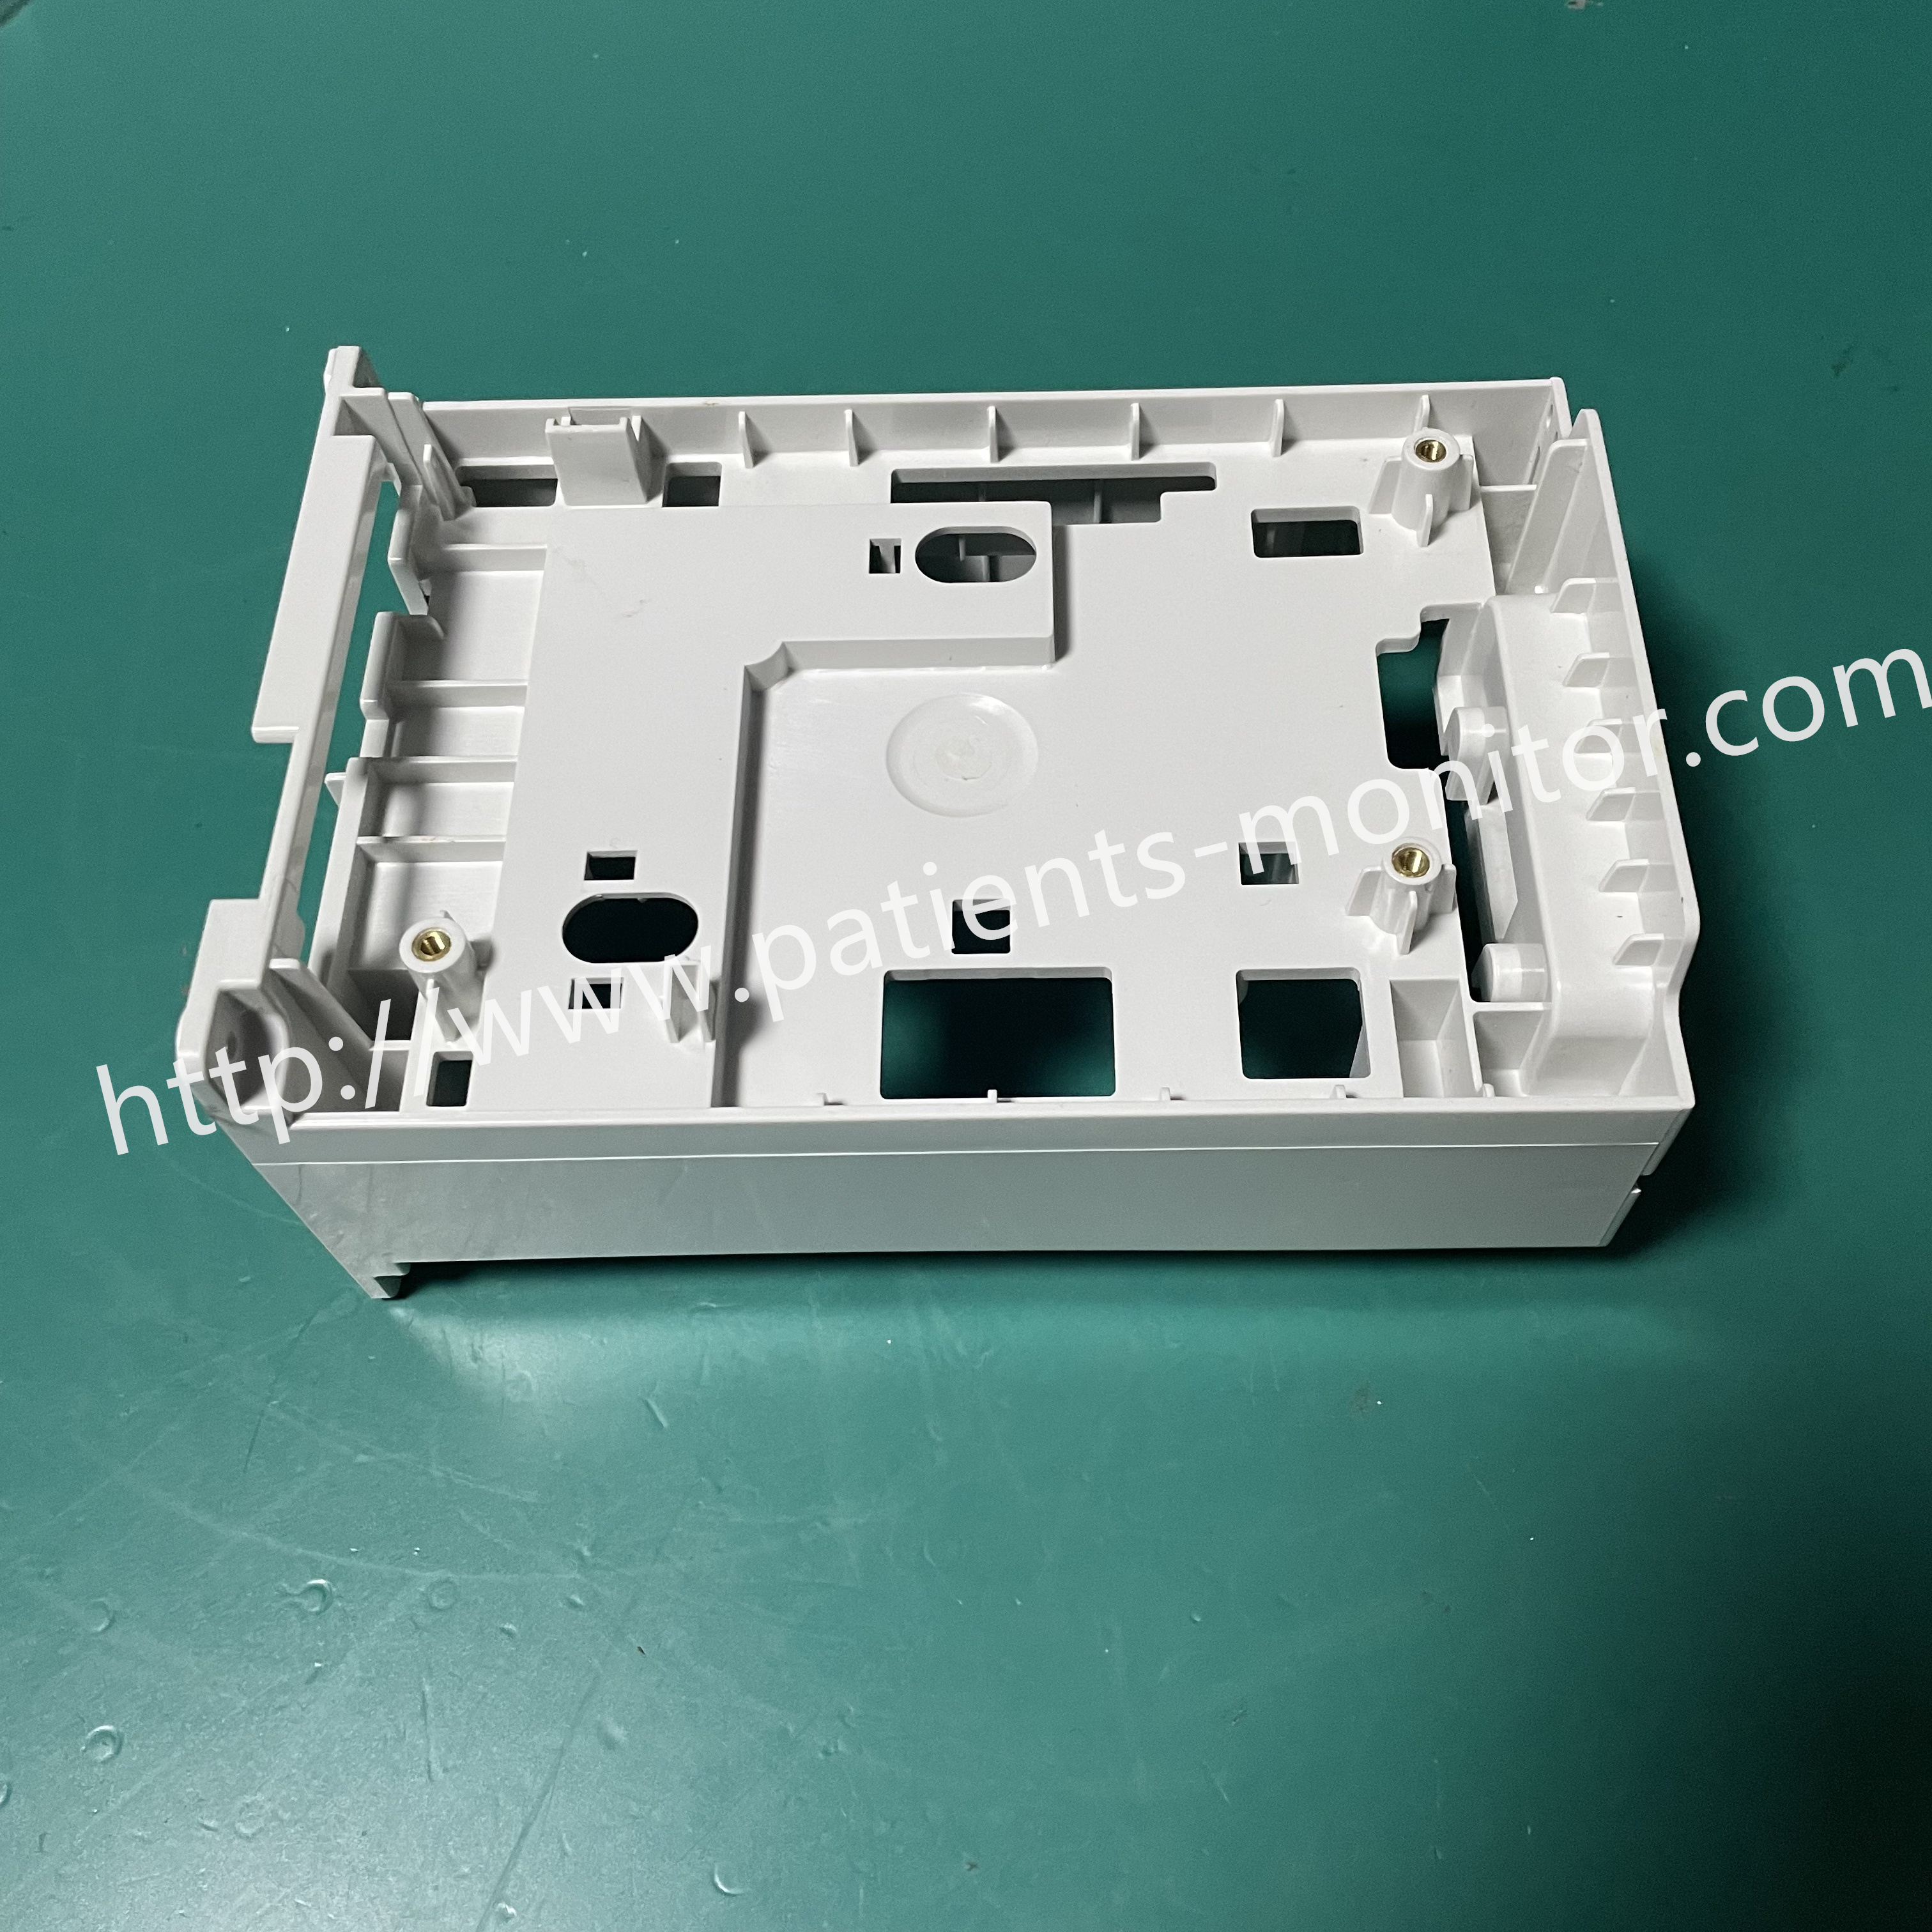
| Product Name: | Edan XM1 Inner Frame |
| Compliance Standard: | ISO CE |
| MOQ: | 1 |
| Module Parameters: | 3/5‑lead ECG, RESP, NIBP, 2‑TEMP, PR, SpO₂ |
| Key Interfaces: | PCB mounting posts, NIBP ports, keypad board positioning |
| Warranty: | 90 Days |
| Payment Terms: | T/T, Western Union,Paypal |
| Company Info. |
| China World Technology Medical Equipment Service Group |
| Verified Supplier |
| View Contact Details |
| Product List |
Edan XM1 Model Inner Frame Original Replacement Spare Part
Introduction
The Edan XM1 inner frame is the structural chassis inside the XM1 multi‑parameter module, which itself is a plug‑and‑play expansion module for the Edan Elite series patient monitors. It provides the mounting base for the module's circuit boards, pneumatic components, and user interface, holding everything in precise alignment so the module can slide into the host monitor's rack and lock securely into place.
Function
1. Secures internal components. The internal frame holds the XM1’s mainboard, button board, NIBP pump and valve assembly, and SpO₂ acquisition board in precise positions; without this frame, these internal components would lack a stable mounting base.
2. Ensures precise alignment of plug-and-play interfaces. The XM1 module is designed to slide into the module slot of Elite series monitors and connect automatically; the frame dimensions and connector openings are precision-machined to ensure proper module seating and reliable electrical contact.
3. Protects sensitive internal components. By housing the module's circuit boards and pneumatic assemblies within a robust frame, the design effectively safeguards them against shock, dust ingress, and handling-related damage during transport and daily use.
Installation
Position the replacement inner frame on the work surface.
Reinstall the main board, keypad board, and pneumatic components into their mounting positions.
Secure them with the original screws — do not overtighten.
Reconnect the keypad ribbon cable and NIBP tubing.
Reassemble the outer housing.
Slide the module back into the host monitor's rack until it locks into place.
Power on the monitor and verify that the module is recognised and all parameters function correctly.
Please note

|
 Patient Monitor Accessories Goldway UT4000 Monitor Blood Pressure Plate Great Value
Mindray PM7000 Patient Monitor Accessories Keyboard Silicone 7000-20-24395
Well-chosen Patient Monitor Mainboard Goldway G30 40 60 70 80 UT4000B UT6000 Monitor Motherboard
Patient Monitor Repair Parts GE Dash4000 Patient Monitor Flat Cable in ready
5 Leads Patient Monitor Parts Pm 7000 Portable Medical Monitor
V100 Monitor Controller Board , PWB Patient Monitor Accessories
25-250BPM Patient Monitor Parts 14V 3A Blood Pressure Monitor Plate
1024x768 MEC1000 Intellivue Patient Monitor Power Board For Clinic
VM8 Patient Monitor Parts Mainboard
Hospital Medical Equipment PHiliph MP20-MP70 Patient Monitor Repair Parts M3000-60003 Pump
Patient Monitor Accessories Goldway UT4000 Monitor Blood Pressure Plate Great Value
Mindray PM7000 Patient Monitor Accessories Keyboard Silicone 7000-20-24395
Well-chosen Patient Monitor Mainboard Goldway G30 40 60 70 80 UT4000B UT6000 Monitor Motherboard
Patient Monitor Repair Parts GE Dash4000 Patient Monitor Flat Cable in ready
5 Leads Patient Monitor Parts Pm 7000 Portable Medical Monitor
V100 Monitor Controller Board , PWB Patient Monitor Accessories
25-250BPM Patient Monitor Parts 14V 3A Blood Pressure Monitor Plate
1024x768 MEC1000 Intellivue Patient Monitor Power Board For Clinic
VM8 Patient Monitor Parts Mainboard
Hospital Medical Equipment PHiliph MP20-MP70 Patient Monitor Repair Parts M3000-60003 Pump

